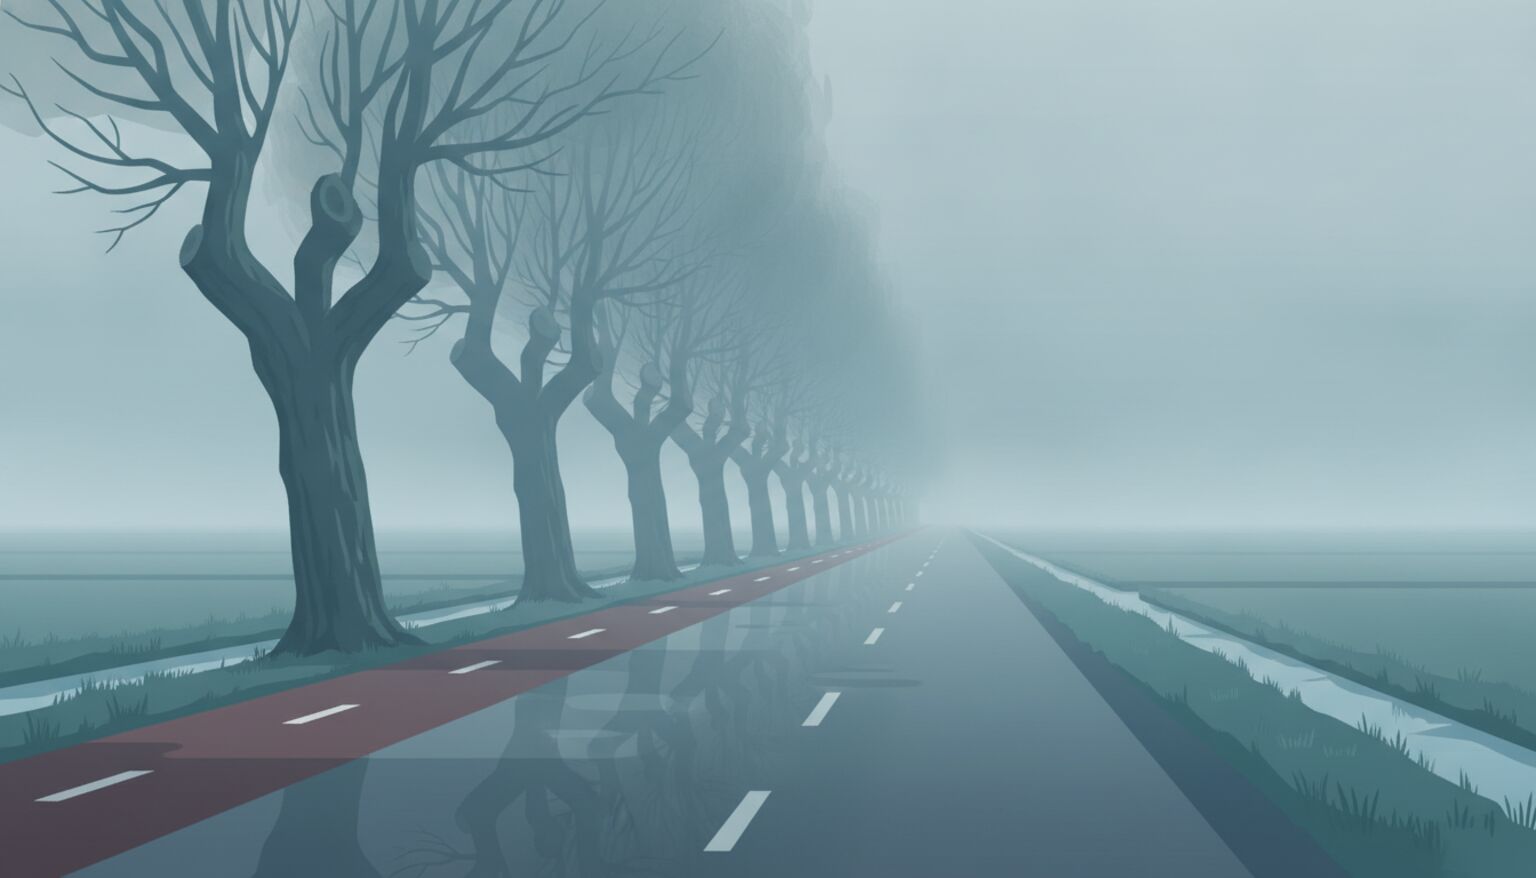
It is late October, and your camera roll shows it. Grey skies, wet streets, fog over the meadows and a sun that is gone by half past five. Anyone trying to place a photo in these months deals with images where the horizon has vanished and the colours have drained away. Still, a photo taken in bad weather is less useless than it looks.
In this article we go through what fog, rain and cloud do to a photo, which clues survive, and how to combine them with AI geolocation. It is a practical companion to our guide on visual clues in AI geolocation.
What bad weather does to a photo
Fog removes depth. Anything further away than a few hundred metres turns into a pale grey smudge, so church towers, wind turbines and silos, the things you normally rely on, disappear. Rain works differently: drops on the lens, reflections on wet streets and flat, low light give you soft outlines and little contrast. A fully overcast sky also removes shadows, and with them the position of the sun as a clue to the viewing direction.
For an AI model this is a problem, because matching systems lean on patterns such as a roofline, the shape of a bridge or the proportions of a facade. When those patterns are blurry, the confidence of the result drops. We saw the same with night photography: the system still works, but you have to read the result more carefully.
What still stands
Fixed details close to the camera do not change with the weather. A street sign, a house number, the colour of the road surface, the type of pavement tile, the style of the lamp post and the kind of bike path are all still visible as long as they are within a few tens of metres. In fog, nearby things become the main anchor, because you can still read and compare them.
The structure of the surroundings stays too. The width of the road, the presence of bike lanes, the row of trees along the verge and the shape of an overpass say a lot, especially in combination. Do not forget the buildings in the foreground: brick, cornices and roof tiles differ by region and building period, and in grey weather they are often easier to see because there is no harsh backlight.
Reflections and wet streets
A wet street is annoying, but it is useful too. Reflections sometimes show exactly what is out of frame: a sign, a shopfront or a neon advertisement. Look closely at the mirror image in puddles and shop windows. Wet asphalt also makes road markings stand out, so lane lines, shark teeth and bike symbols are easier to recognise than in dry weather.
The weather itself as a clue
Weather also tells you something about when and where. Dense fog in a river valley or over a polder is typical of late autumn, especially early in the morning. If there is a layer of leaves on the street and the trees are half bare, you are roughly between mid October and early December. That is handy for testing a story: a photo supposedly from July that shows fog does not add up. More on the effect of the seasons in our article on seasonal change and geolocation.
You can turn it around as well. For a suspicious photo, look up the weather of that day, for example through the historical observations of the KNMI. If a photo shows rain on a day that was dry in that area, you have a strong reason to ask further questions.
Practical steps for a grey photo
Start with what you know for certain: the metadata, the source and any text on signs. Then raise the contrast and brightness in an ordinary image editor, so details in the shadows and the mist become easier to see. This does not change the outcome of a search, but it helps you notice small clues. Crop to the part with the most information and continue from there.
Then use several sources side by side. A map shows whether the road layout fits, an aerial photo shows whether the parcel pattern matches, and street imagery gives the best comparison at eye level. How to combine those methods is described in our guide on finding a photo’s location without GPS. If it stays difficult, a second photo of the same spot, preferably in better weather, helps more than any edit.
Where AI helps and where it does not
GeoPin compares your photo with a national index of street imagery. In rain and cloud that works well as long as there is recognisable structure in the frame, such as facades, road profiles and street furniture. In dense fog, where only a grey plane is left, the system returns an area rather than an exact address. That is not a bug, but an honest reflection of what the photo contains.
Treat the result as a hypothesis. Check the suggestions on the map and see whether details such as the buildings, the road width and the street furniture match your photo. If one fits, you have a starting point; if several fit, there is a good chance you have found the spot.
Try it yourself
Do you have an autumn or winter photo whose location you want to know, even if it was grey, wet or foggy? Upload it to GeoPin and see the most likely locations in the Netherlands within seconds, with a map view to check the result.